Just over 10 years ago, Heidi graduated from East-West Healing Arts Institute and completed the purchase of what is now Renu Massage, Energy & Bodywork. Such a transformation has taken place! Here’s a walk down memory lane for Heidi, and a brief history of Renu for everyone else.
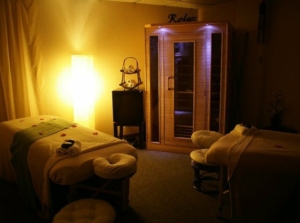
Couples Massage Room at Renu’s First Location
In December 2011, Heidi graduated from a local massage school and also learned Traditional Chinese Medicine, Acupressure, and cupping therapy. The purchase of a 3-year old massage business was also completed that month – it was a crazy time! The business had the former owner’s name in it, so in 2012 when we rebranded and changed the domain name, business just… tanked. Heidi thought there would be enough regular clients to make it through that transition, but sadly that didn’t happen. Renu was in the basement of an office building on Odana, and it had a much different feel than it would once we left that space. Within 9 months of ownership, all the therapists either quit or were let go – both because of the decrease in business and also due to some resistance to the changes Heidi wanted to implement. It had originally had lots of spa-type services, drawing lots of one-time clients, and Heidi wanted a more therapeutic-based business that had a lot of loyal regulars.
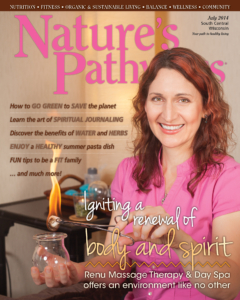
Heidi was featured in Nature’s Pathways
So we really did begin anew in mid-2012. Heidi learned the hard way to be picky in hiring – after taking the first available applicants too quickly! And that obviously didn’t work out. It took some time to build a team that would be a good fit – most of those therapists have been grads of East-West as well. Since building the team after rebranding, Renu has had a very low turnover in therapists. We find those who are a good fit, and they stick around.
It was at our first location that we were featured on the cover of Nature’s Pathways – what an exciting time that was! Heidi was still working as a massage and cupping therapist, and the magazine did a great job of showcasing the uniqueness of cupping therapy. (And I still love how my shirt matches the font color!) That was 2013, and we stayed in that first space for another year.
Olga joined us in November 2013 – and is still with us! Olga keeps expanding her skills and is excellent at all of her endeavors; we are very lucky to have her on our team.
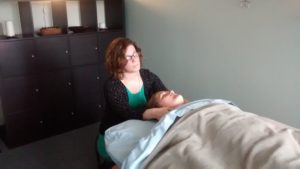
Amanda joins our team at the Normandy location
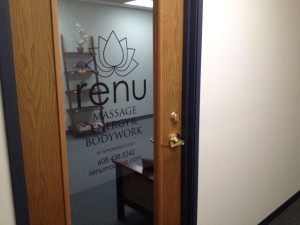
Renu’s front door in the office building on Normandy Ln
The team-building continued as we moved into an above-ground office space on Normandy – right next door to East-West! Renu was there from 2014 through 2020. It was a much brighter space that felt more like the energy of our team, and it really worked well for us, except for a few recurring issues. But it was a bit hard for some people to find us there. Heidi would dream of one day having an actual store front with all the visibility that entails, but she also really liked that it was a small business with a great team and great clients, and was content to keep it that way.
Amanda joined Renu in September 2016, and has worked closely with Heidi in shaping the direction Renu has taken over the years since then. Amanda is invaluable in so many ways, and clients love their work as well.
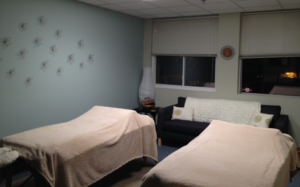
Couples massage room at the Normandy location
The five and a half year lease went by so quickly at the Normandy location! Heidi thought about perhaps looking around about a year before renewal was due – there were a few issues at Normandy that were less than ideal, but it was otherwise a really good space for us.
Then someone from Greenway Station reached out to Heidi in late 2019 – thinking Renu would be a great fit for an available space. Serendipitous? The square footage and layout did seem just right. Heidi doubted Renu was in a position to pay the requested rent, and sure enough… there was no way. But Greenway Station was willing to negotiate, and very eager to have us there. It was the most perfect rent negotiation because the whole time, Heidi didn’t expect it to go through and was very transparent; not at all embarrassed by Renu’s small business stature. And that resulted in a deal that worked for both parties. Voila – excitement ensues!
Then… pandemic. We shut down for three and a half months in 2020. We had barely any clients when we reopened in the Normandy space.
So now what? After a few months of being in a circular and anxiety-producing decision-making process, Heidi and the Greenway Station rep talked again, and the rep once again had good ideas to resolve the things that were causing the most anxiety about moving during a pandemic.
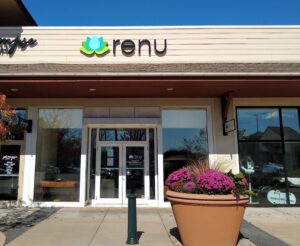
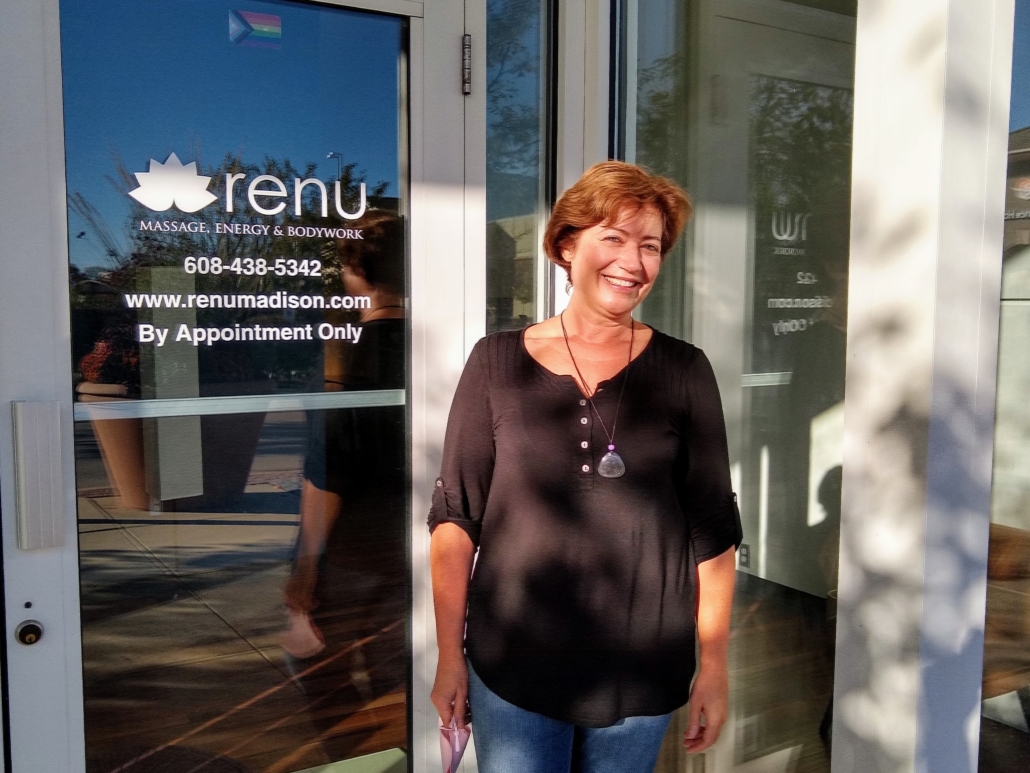
Our first store front space!
So we went ahead and moved at the end of August 2020. We repainted, repaired, and made the space our own. Business was still pretty minimal until May 2021, when vaccines were more prevalent, and we are once again making ends meet on a monthly basis. We needed lots of grants, loans, and other sources of funding to get us through 15 months of minimal revenues, but we are making it! And the visibility of the new space has already made such a difference and is helping us recover. It will take a long while to rebuild after all those losses, but the path looks good to do just that.
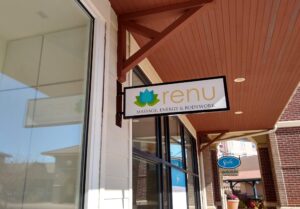
So great to have our own signage!
Being in Middleton has led to joining the Middleton Chamber of Commerce, which is a very active and fun group! This has been such a great move for Renu, and we’re all excited to see where things progress once things become more normal again. Heidi hopes and plans to grow Renu – with the right team members of course – to have more support staff onsite now that we’re in a storefront. As of now, we’re still operating under the model that Renu has had from the beginning – the therapists do the check in’s, check out’s, and the bodywork, and we don’t accept walk-in’s.
Heidi hopes that will change sooner than later once we get past Omicron and hopefully get to a point where Covid-19 is endemic and much less dangerous. We’ve kept and will continue to keep all the safety protocols we put in place in 2020.
Rosalinda at the front desk with cups
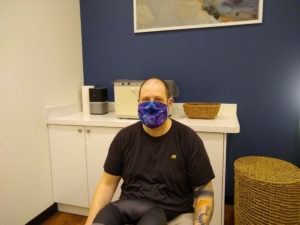
Brian in one of our treatment rooms at the new space
What a journey it has been! Heidi is so thankful for Olga, Amanda, Brian & Rosalinda – such a wonderful team of therapists. Brian joined us in February 2019, and Rosalinda in January 2020. Both of them started here as a very part-time side gig, and they’ve each developed their own loyal following.
We will be looking to expand our team, perhaps as soon as this Spring or Summer. We’re not in a rush, but we lost a few people during the pandemic that we don’t expect will return.
If you’re reading this, you’re probably a fan of someone at Renu. If you know of any other licensed massage and/or cupping therapists that would fit well with us, please let us know! We’re always looking for like-minded people to join our wonderful team.
Olga outside the new space – with sun in her eyes!
Here’s hoping 2022 is a better year for everyone! We look forward to another amazing 10 years of wellness and growth, and we hope you’ll join us on our journey.


